Do you have a pet dog that is much stronger than you? Do you struggle to keep him in line while taking out for a walk? Or, do you realize the need for an extra-strong and proper supporting equipment for your dog when compared to the present zig-zagging collar and leash he wears?
I recommend using a dog harness that equally ensures a happy dog and a happy owner. Read on to find out more.
Recently, I happened to spot an interesting article that shows the percentage of overall pet dog owners in our country. The statistics reveal that almost 75.5 percent of US citizens including you and me love to keep dogs at home.
Yes, I am fond of pet dogs, and I already have many dogs, including a naughty Xoloitzcuintle, which was my very first pet and was so dear to me. For the first few outings, managing my pet is almost like hard and tiring for me. He often tries to yank and fight with the leash out of his excitement that results in choking and causing him neck injuries. Another shocking fact is that such a constant pulling force around the neck region of the dog can cause the eyeballs to protrude from their sockets. Then I realized the importance of having a great tool like a body harness that is effective in keeping the dog under your safe control.
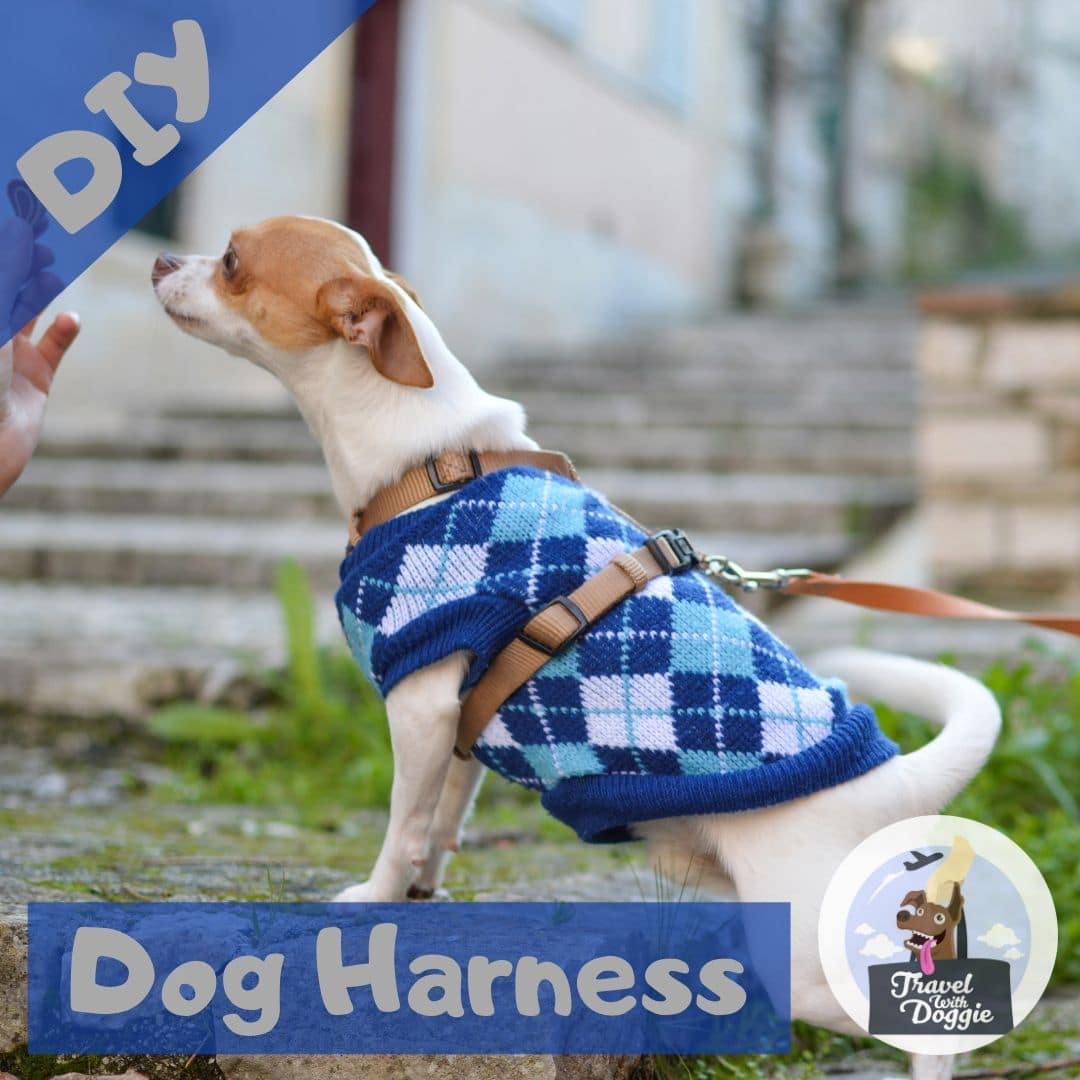
Know About The Dog Harness
A harness is the best web-like equipment that can potentially distribute pressure over a dog’s body. It comes with release buckles and regulating straps that have a good girth which fits snugly around the chest area.
This knowledge is quite an essential thing to consider as harnesses models can differ in the way they act on your dog. In fact, there is no such single harness that equally fit all dogs.
This comprehensive guide to various types of dog harnesses will help you opt for the right type of dog harness.
From my experience, creating your own harness simply adds the beauty of satisfaction and comfort. You can even customize it with functional webbing and other stylish accessories that you want. Again, all these are possible at a truly low cost which is the icing on the cake. So, are you excited to make one?
List Of Things You Need For Making A Dog Harness
The first and foremost consideration is about the webbing material you choose for the harness. I advise you to get nylon fabric of appropriate width and thickness for the harness, as it is easy to clean and care for.
Fabric estimation:
- About ½ to 5/8 inches for puppies
- Nearly 1 to 1.5 inches for medium size dogs
- Around 2 inches for hyperactive dogs or for attaching saddle bags
Apart from this, you will require
- Quality tuck and release buckles that are suitable for the fabric
- Tri-Glide fastener type of buckles that allows easy strap length adjustment and as a means of securing loose webbing
- Proper metallic D-rings that enables you to clip a leash or rope to the harness if needed
- Fabric tape for measuring out the lengths
- Sewing machine or even hand work with needle and thread will do
- Sharp scissors for taking out the required material pieces
- A small lighter to burn the ends of fabric at times
Extras For Improving The Harness Functionality
These are some things that I would consider adding to your dog harness. It adds comfort and ergonomical functionality that has suit me in my everyday interaction with my dogs. I hope these would give you some inspirations for your own version of dog harness.
- The best padding or fleece material that ensures the extra well-being of your pet
- Velcro for easy fastening or removing of the body harness
- Other decorative bands, saddlebags, reflective patches, lights and so on
Steps To Make A Dog Harness
Here it goes!
For measurement
Mainly, there are three measurement lengths to take note of.
- Length A which indicates the whole chest circumference area that comes just behind the front legs of your pet. Ensure you leave an additional few inches considering for padding, stitching and scope for adjusting.
- Length B which includes the front breastbone coverage. This measurement starts and ends from the behind portion of the front legs. Here you can leave one inch in addition to the fabric width to allow comfortable stitching and padding.
- Optional length C if you plan to connect the front and chest strip together with a belly strap. So accordingly, you can measure from the breastbone which goes between the legs to the place behind front legs where the chest strap sits. Leave an additional three inches for adjusting, padding and sewing.
There is more to measuring a dog for a harness properly. I have written a whole article on it that dives deep into the nitty gritty details, as well as shares some of my personal tips on how to measure a dog for a dog harness correctly and easily. Do check it out if your are not clear!
Stitching
Chest Strap
Take the fabric and cut it out to size A. Attach the extras like padding or Velcro if you need. Use a good quality thread to do at least 2-3 stitching lines. Now, make sure you properly burn the edges to avoid fraying in the future.
Insert the Tri-Glide clip and fold. Now, stitch the loose end to the buckle and re-insert the fabric back through the clip. Further, thread the free end of the webbing strap to the other end of the buckle.
Front Strap
Cut out the B length strap after carrying out a test fitting with the chest wrap in place. If you like to keep a D ring on the strap of your big dog, fold this strap piece into half and try sliding it on the ring. Neatly stitch it over the back and to the chest wraps to ensure secure fitting.
If you prefer to attach a D ring on the chest strap, it is easier now. For this, take out a webbing strip that is double in length when compared with the chest strap thickness and add in an extra ¼ inches. Fold it into half and insert the ring into the strap center. Sew it onto the chest strap using the thread so that now it lies centered on your left side of the body. The harness is ready to wear and so, slide the strap over the dog’s head and secure it with the buckles and see if it fits effortlessly without irritating the dog.
Pros Of Using A Diy Dog Harness
- Potentially tackles the challenge of finding harnesses for dogs who have a thin or large body, barrel-chested body structure and even for pets who have special needs.
- A homemade harness works more in a unique manner for your pets making them suitable for performing specialized tasks or for other training purposes.
- Your pet never tries to wiggle out of the harness if it is of proper fit and so, it ensures more safety for the pet. This makes it easy for you to effectively handle a dog in a car while you drive. You need to just attach the dog harness to the best dog seat belts so as to keep them secure in their place.
- You can choose from a variant of color shades, flexible features and styles available for the DIY harness fabric that enhances the comfort of harness wearing.
Cons Of Using A Diy Dog Harness
- Some fabric poses allergy to dogs and so you do need to pick the apt material for the harness.
- A DIY dog harness is not prone to crash testing while there exist harness models in the market that are crash tested for ensuring the safety of dogs in case of accidents.
Final Thoughts
Now you have the basic idea of creating a working and stylish harness model for your active pet dog. Make sure you practice two success mantras for the ultimate results which you are going to find out soon. This includes your patience to stitch it carefully and the time to make trial fittings on your pet. I assure you that the design is definitely going to make your dog happy wearing it on for the whole day.